How to Master the Essentials of Circuit Board Assembly for Beginners
 Circuit board assembly is a crucial process in the electronics manufacturing industry, significantly influencing the performance and reliability of electronic devices. According to recent industry reports, the global PCB market is projected to reach $96.36 billion by 2026, with an annual growth rate of 3.5%, reflecting the rising demand for advanced electronic products across various sectors, including automotive, telecommunications, and consumer electronics. For beginners venturing into this field, mastering the essentials of circuit board assembly is essential not only to enhance their technical skills but also to contribute effectively to the ever-evolving landscape of electronics. Understanding key concepts, tools, and techniques involved in circuit board assembly will empower novices to navigate this complex domain, ultimately positioning them for success in a competitive marketplace.
Understanding the Basics of Circuit Board Components and Functions
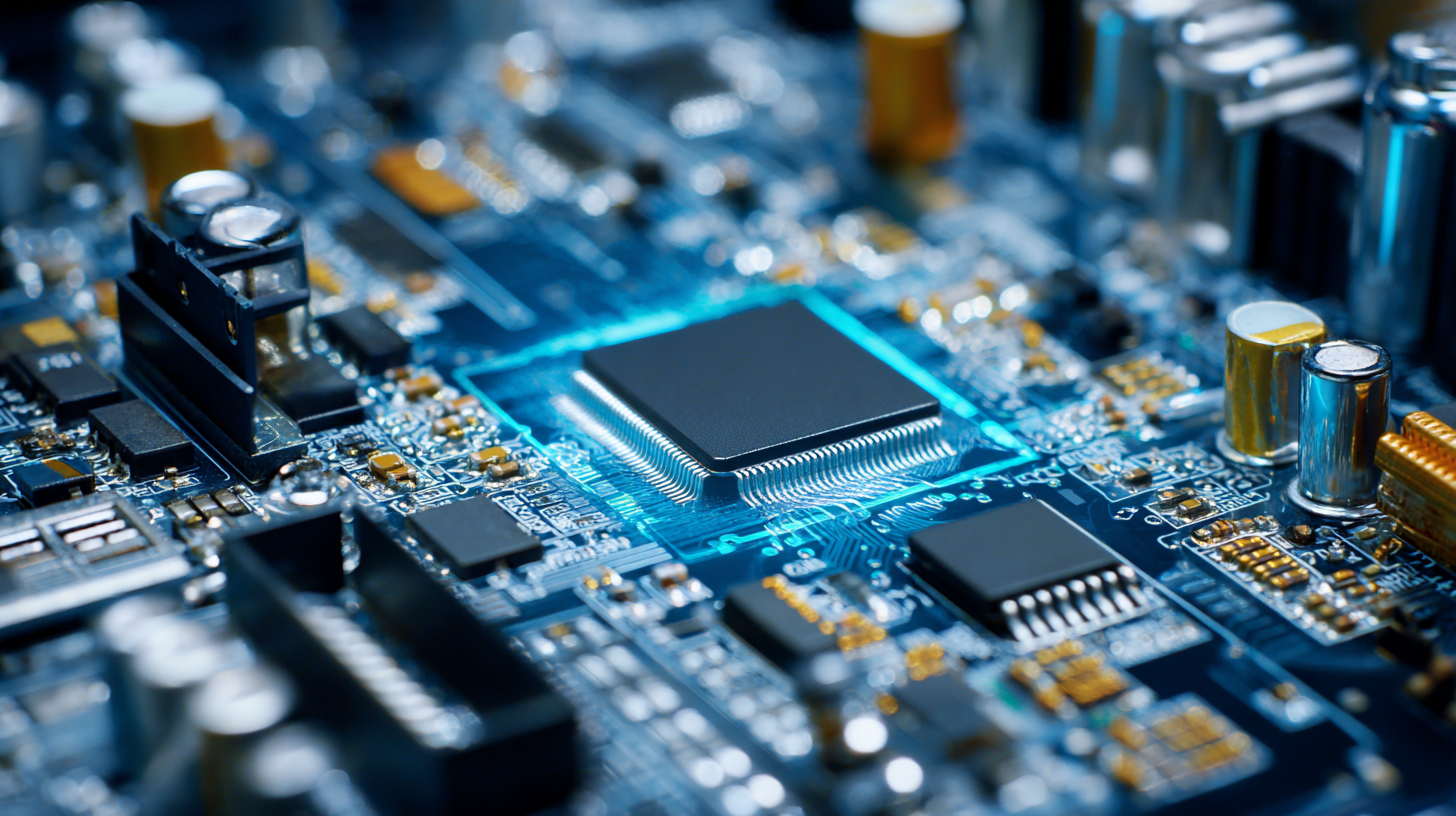
Understanding the basics of circuit board components and their functions is crucial for beginners in the field of electronics. At the heart of any circuit board lies a variety of components, each serving a specific purpose. Resistors, for instance, are used to limit the flow of electric current, ensuring that sensitive components are protected from excessive power. Capacitors store and release electrical energy, playing a vital role in smoothing out fluctuations in power supply. Inductors, on the other hand, are utilized to manage current flow and filter signals.
Moreover, integrated circuits (ICs) are the backbone of modern circuit boards, combining multiple functions into a single package. They can act as amplifiers, oscillators, or microcontrollers, significantly reducing the space and complexity of circuit designs. Understanding how these components interact is essential for troubleshooting and optimizing circuit performance. By grasping the basic functions of these fundamental elements, beginners can build a solid foundation in circuit board assembly, leading to more advanced projects in the future.
How to Master the Essentials of Circuit Board Assembly for Beginners - Understanding the Basics of Circuit Board Components and Functions
| Component |
Function |
Common Values |
| Resistor |
Limits current flow, creates voltage drops |
1Ω to 10MΩ |
| Capacitor |
Stores and releases electrical energy |
1µF to 1000µF |
| Diode |
Allows current to flow in one direction |
1N4148, 1N4001 |
| Transistor |
Amplifies current or acts as a switch |
2N3904, BC547 |
| Integrated Circuit (IC) |
Contains multiple functions in a single package |
555 Timer, Op-Amp |
| Inductor |
Stores energy in a magnetic field when current flows |
1µH to 10H |
| LED (Light Emitting Diode) |
Emits light when current flows through it |
5mm, 10mm, different colors |
Essential Tools and Equipment for Successful Circuit Board Assembly
When delving into circuit board assembly, understanding the essential tools and equipment is crucial for beginners. A reliable study from IPC (Institute for Printed Circuits) indicates that nearly 60% of assembly defects can be traced back to improper tools usage. Therefore, ensuring access to high-quality tools can enhance precision and efficiency in your assembly tasks.
Key tools include soldering irons, which should ideally have adjustable temperature settings for various components. Additionally, a magnifying lamp can significantly aid in inspecting small parts, reducing the likelihood of errors. A well-organized workstation equipped with anti-static mats and ESD-safe tools is essential for protecting sensitive electronics. According to a recent report, using adequately designed workspaces can decrease assembly times by up to 30%.
Tips: Invest in a sturdy pair of tweezers and a hot air rework station for surface-mounted components. Having a multimeter for voltage and continuity checks will ensure your circuits operate correctly before final assembly. Lastly, keep a comprehensive toolkit with screwdrivers, pliers, and wire strippers to tackle a variety of tasks during the assembly process.
Step-by-Step Guide to Soldering Techniques for Beginners
Soldering is a fundamental skill in circuit board assembly, crucial for beginners aiming to create reliable electronic projects. According to a report by the IPC (Institute for Printed Circuits), nearly 80% of electronic manufacturing defects are linked to poor soldering techniques. This statistic underscores the importance of mastering proper soldering methods to ensure quality and performance in electronic devices.
When starting, focus on basic soldering techniques such as the proper use of soldering irons, solder types, and flux application. It's essential to keep the soldering iron tip clean and well-tinned to achieve optimal heat transfer and prevent oxidation. Moreover, ensuring that components are securely positioned before soldering will minimize the risk of creating cold solder joints, which can lead to circuit failures.
Tips for beginners include practicing on scrap circuit boards to hone your skills before tackling your projects. Additionally, make sure to use the right gauge of solder—typically 0.8mm for most tasks—and remember to work in a well-ventilated area to avoid inhaling potentially harmful fumes. Lastly, always inspect your solder joints for shine and smoothness; a good solder joint should have a clean, shiny finish without any cracks or dull spots.
Common Mistakes to Avoid When Assembling Circuit Boards
When it comes to circuit board assembly, beginners often encounter several
common mistakes that can hinder their progress. One of the most frequent errors is
poor planning and organization of components.
Failing to carefully sort and layout parts before starting can lead to confusion
and increased assembly time. It's essential to familiarize yourself with the
schematic and ensure all components are readily available and correctly identified
before diving into the assembly process.
Another prevalent mistake is neglecting proper soldering techniques.
Beginners might apply too much solder or not enough, which can result in
cold solder joints or bridges between traces, causing malfunctions.
Taking the time to learn about soldering tools, techniques, and the
specific requirements for different types of components is crucial for ensuring
a reliable assembly. Practicing on scrap boards before working on a final
project can help build confidence and skill in this critical area. By avoiding
these common pitfalls, beginners can improve their skills
and achieve successful circuit board assemblies.
Tips for Testing and Troubleshooting Circuit Board Assemblies
Testing and troubleshooting circuit board assemblies are crucial skills for beginners looking to master the intricacies of electronics. When a circuit board fails to function, the first step is to conduct a visual inspection. Look for obvious signs of damage such as broken traces, burnt components, or loose connections. Paying close attention to solder joints can reveal cold solder or dry joints, which can be easily fixed by reflowing the solder.
Once the visual inspection is complete, utilize a multimeter to perform further tests. Begin by checking for continuity on various traces to ensure there are no breaks in the circuit. Measure the voltage levels at key points in the circuit to verify they align with expected values. If discrepancies arise, it may indicate a faulty component or a design flaw. In more complex assemblies, signal tracing can help identify where a signal fails to propagate, pinpointing the issue more precisely. By combining these methods and maintaining a systematic approach, beginners can develop confidence in diagnosing and troubleshooting their circuit board assemblies effectively.
Essential Skills for Circuit Board Assembly: Testing and Troubleshooting